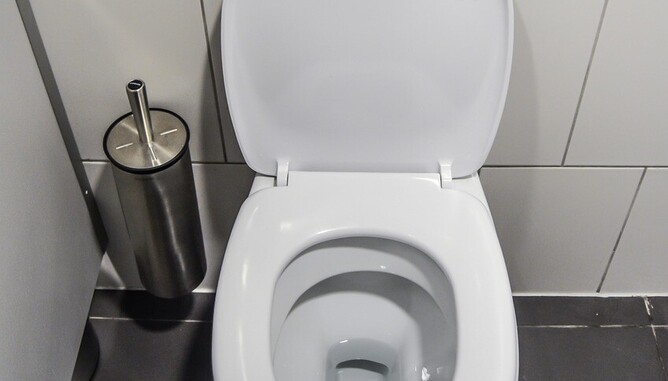
Broken, Discolored or Aging toilet seat?
Changing a toilet seat is a simple DIY job that can be done in a few easy steps. Follow these instructions to replace your toilet seat:
Step 1: Put some gloves on and remove the old toilet seat. Start by lifting the cover caps at the back of the seat, exposing the screws that hold the seat in place. Use a screwdriver to unscrew the nuts, taking care not to overtighten or damage the threads. Lift the seat and cover off the toilet bowl and dispose of it appropriately.
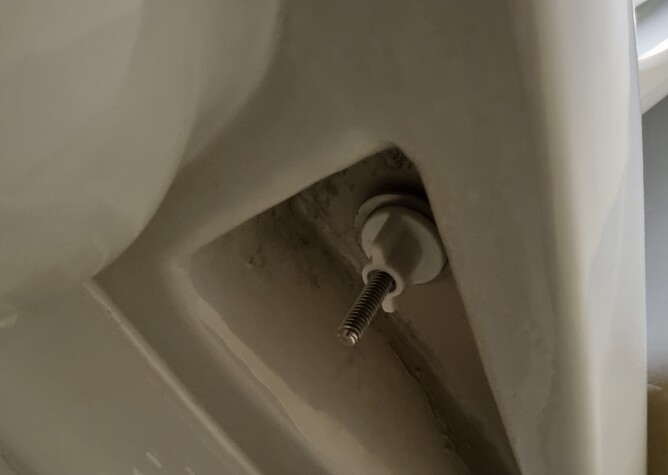
Some toilets don't have cover caps at the back of the seat, and instead have two wing nuts holding the seat onto the toilet bowl / pan. Undo the nuts and lift the whole toilet seat off the toilet pan.
Step 2: Now that the toilet seat has been removed, clean the area thoroughly using a disinfectant to clean the area where the old seat was attached, making sure to remove any grime or dirt that may have accumulated.
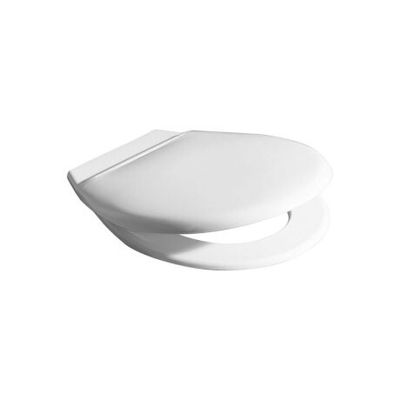
Step 3: To install the new seat, remove the new seat from its packaging and ensure that all the components are present. Place the new seat on the toilet bowl, making sure that it lines up with the holes in the toilet bowl / pan. Insert the bolts and washers into the holes, and tighten the nuts with a screwdriver, being careful not to overtighten them.
Step 4: Adjust the seat. Once the new seat is secured in place, adjust the hinges so that the seat is level and does not wobble. Test the seat to ensure that it sits comfortably and does not shift when weight is applied.
Step 5: Finishing up. Once the seat is securely installed and adjusted, replace the cover caps (if you have them) at the back of the seat, and wipe down the area with a clean cloth.
In conclusion, changing a toilet seat is a quick and easy task that can be done by anyone with a basic understanding of DIY. With these simple steps, you can replace your old toilet seat with a new one and have a fresh and hygienic bathroom in no time.


